New Seat Covers - Headrest cover fitting instructions
Tuesday, August 07, 2007
New Seat Covers
Headrest cover fitting instructions
Before we start a brief description of how the MGF/TF headrests were made is in order:
All MGF/TF headrests are 'FOAM IN PLACE' headrests.
This means that a cover is sewn, placed into a carousel and the metal stems inserted into it.
The next process is that the carousel rotates (imagine a large 20 station carousel with an operator at each station) and goes into a foam injection tool.
A measured amount of 'wet' foam is squirted into the headrest which fills to the correct shape. The wet foam is quite hot and dries hard. Hence the the original covers are not removable.
'CONVENTIONAL HEADRESTS' are where the foam & stem is one piece the shape of the headrest and a cover is trimmed over the top, joined at the bottom with a J-section or similar. One offs are sometimes hand sewn to close them.
Mike Saturs covers were manufactured to make a 'FOAM IN PLACE' MGF headrest, become a 'CONVENTIONAL HEADRESTS'.
Headrest Removal
Here is a picture of the seat and headrest the way it looked before the new headrest cover was fitted:

To take the headrest off the seat:
1. Raise the headrest as far as it will go
2. Push the plastic cover that covers the hole in the seat, where the prongs from the headrest
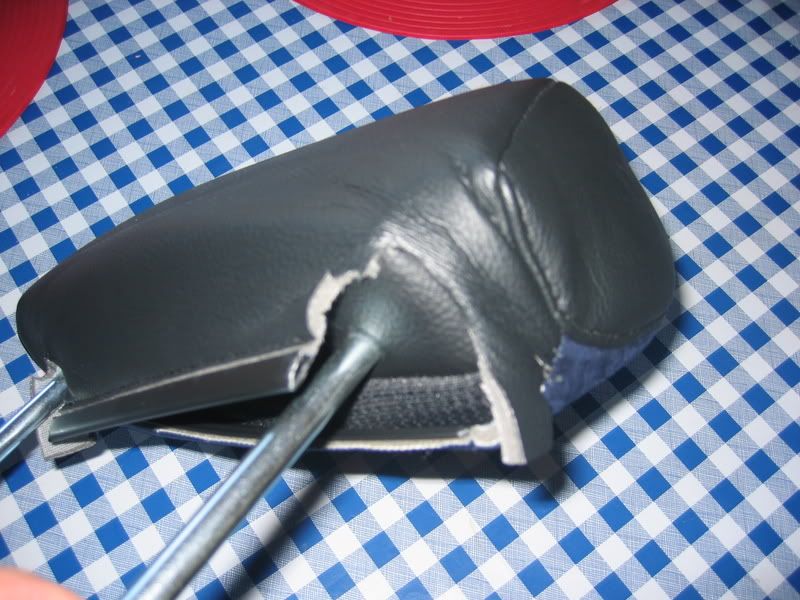
go, to uncover the clips that stop the headrest from coming out of the holes (see pic below)
3. Prise the clip away and remove the headrest.

Cover Fitting
1. Before you start, it is worth looking at how the cover clips together once fitted on the headrest. You will see that one side has a plastic sleeve that fits to a plastic slot on the other side. I took the opportunity to open up the slot a little using a blunt knife to make it easier to fit the two together once the cover was on.

2. The easiest, best and probably only way to get the cover on, without ripping it, is to turn it inside out.
 3. With the headrest facing forward and the Alcantara fabric inside out but also facing forward, place the top of the cover to the top of the headrest. Next slide one side downward and around the bottom of the headrest – a bit like peeling a banana backwards. This should be easy and fairly straight forward.
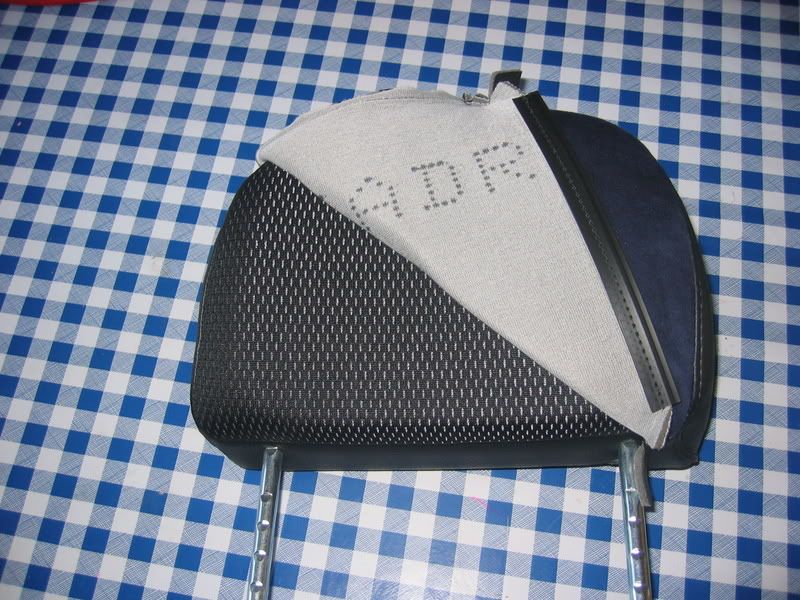
4. Now for the hard bit. Slide the other side downward and around the bottom of the headrest. This will take some effort and is best achieved by squeezing the headrest together while pulling the cover downwards.
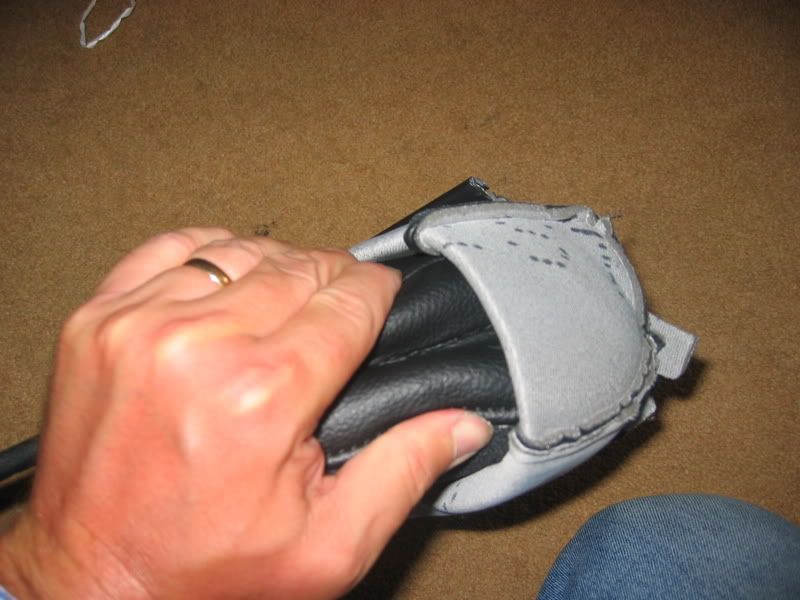
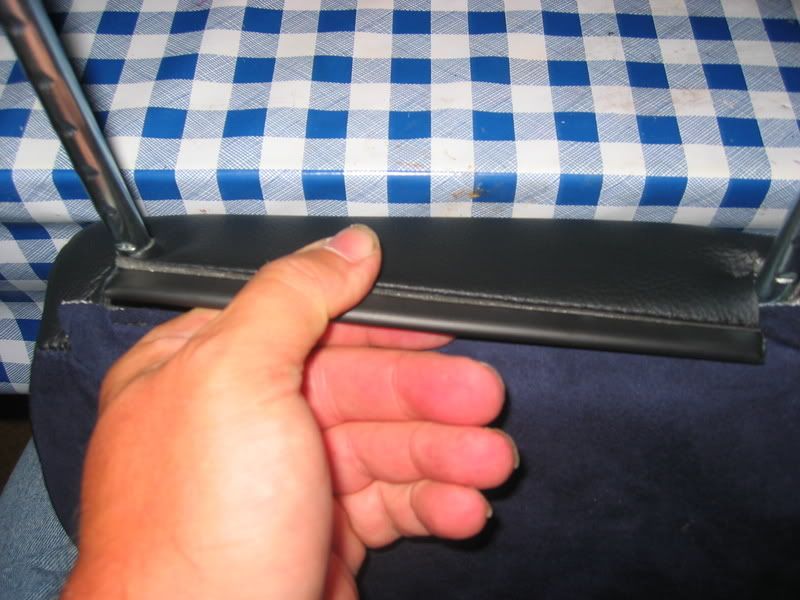
5. Once you’ve pulled the second side of the cover over the bottom of the headrest, it should look like this:
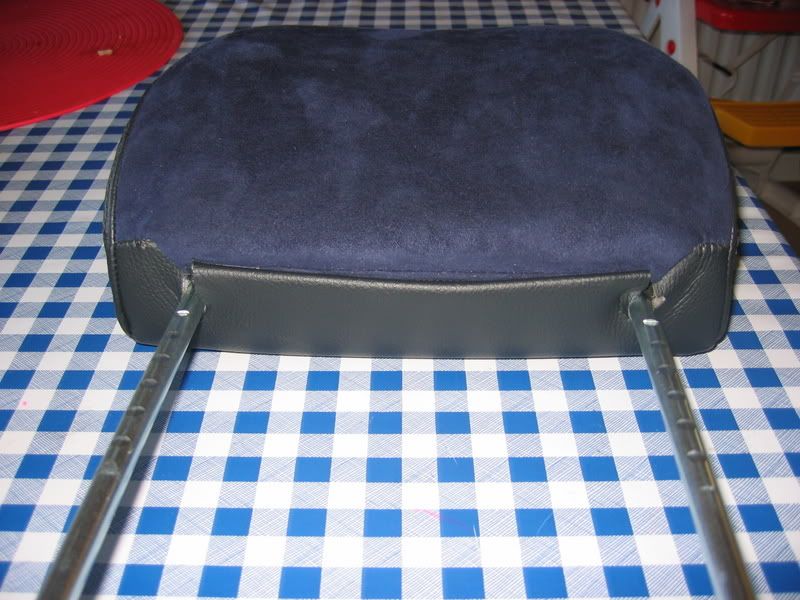
6. In order to get an equal amount of material on both sides of the headrest, use the same method of squeezing the headrest as above, starting from the side with most material tease the material around the body of the headrest. The material should then be equally distributed on both sides like this:
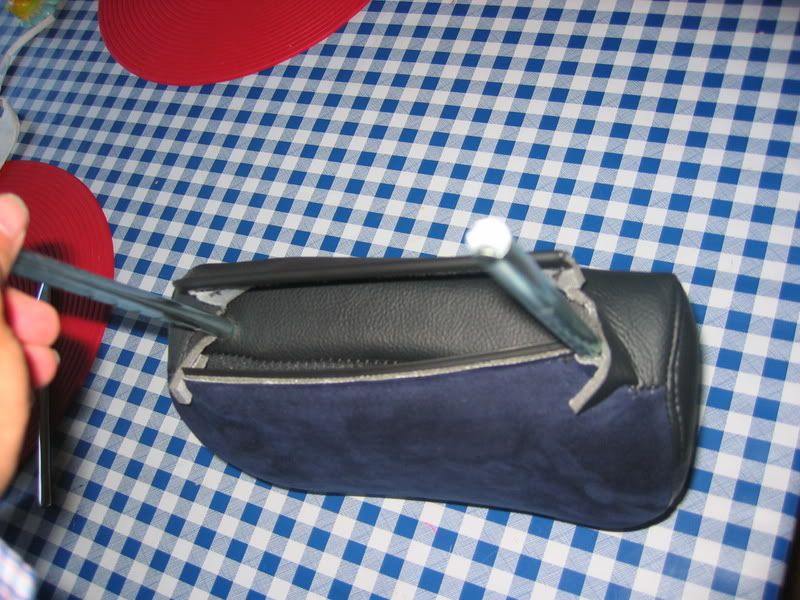
7. The final part of clipping the plastic sleeve and slot together is more difficult than it looks. First pull the leather material as far forward as it will go:
8. Turn the plastic slot on the leather side of the material in on itself as per the photo and push the plastic sleeve on the Alcantara side of the material into the slot.

9. On one headrest cover I did, this method worked perfectly, but on the second one, the sleeve would just not click in place within the slot, so I had to resort to sowing the two side of the material together (in the same position as if they were slotted together).
Refitting the Headrest
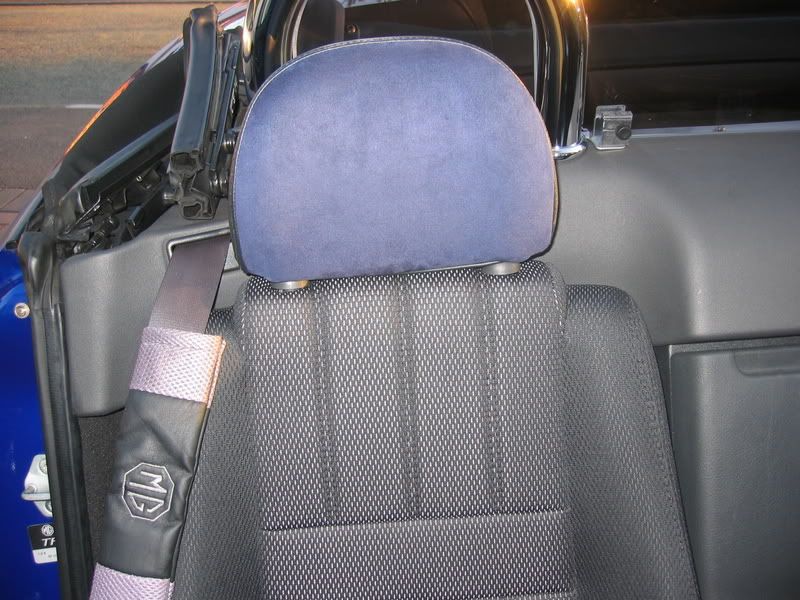
This is the nicest part and is just the reverse of the removal process. Push the plastic covers up the Headrest prongs before fitting the headrest to the seat and replace the clip that stops the headrest being removed from the seat. And here is the result – a nicely covered headrest.
Come back for the next episode, where I will talk you through fitting the seat covers :)
posted by Alan and Maxine @ 2:17 pm,
![]()
![]()